How to

Get your outdoor space ready for 2026 with our Spring garden wood care checklist.
As the lighter nights arrive and the warmer weather begins, March is the perfect time to give your garden the attention it deserves.
With increasingly cold and damp conditions over the winter period, it can have a significant impact on outdoor wood, from fences, to decking, garden furniture to wooden planters. Now is the time to get outside, extend the life of the wood in your garden and improve how it looks for the year ahead.
We’ve created a Spring checklist that will help you restore, protect and prepare your outdoor wood to enjoy over the summer months.
Why is Spring the best time for wood care?
By acting during Spring you can prevent long-term damage and avoid bigger repairs later in the year. Spring is the ideal time to get outside and apply outdoor wood treatments for a few reasons:
- Milder temperatures help products absorb more effectively
- The lower moisture levels compared to the winter months will improve results
- It gives you enough time to prepare to enjoy your outdoor space over the summer months, and
- As the days get longer it gives us more time to be outside enjoying the fresh spring air
So, what do you need to do next?
Step 1: Inspect for any Winter damage
The first thing to do is to visually check and assess your outdoor wood paying particular attention to fence panels and posts, decking boards, garden furniture, sheds and other outdoor structures.
Take a careful look around your garden and check for any signs of the following:
- Cracks or splits in the timber
- Algae buildup, moss growth or mould patches
- Any fading, discolouration or peeling finishes
- Warping caused by prolonged moisture exposure
- Rotten wood in decking, the bottom of your fence panels or when garden structures have been in contact with the ground.
Step 2: Clean and prepare surfaces before applying treatment
Ensuring that surfaces are cleaned and prepared correctly will allow any treatments to properly penetrate the wood. If you apply any stain or treatment to dirty or damp wood, this will reduce the overall effectiveness and longevity of the product.
Clean and prepare your surfaces by completing the following:
- Brush away any dirt, grime or other loose material from your surfaces
- If required, use a suitable cleaner to remove any mould, algae, moss and other stains
- For weathered areas, lightly sand and clean away any loose material
- Identify any wood that may need to be repaired or replaced.
Step 3: Repair and restore
Once you have cleaned your surfaces it is much easier to spot where they may be damage that needs to be repaired, you may be able to use restoration products to help with this, or the wood may need replacing entirely.
Some common repairs that you may encounter are as follows:
- Broken or rotten decking boards, fence panels etc
- Small cracks and gaps may require filling
- Splintered areas may benefit from a light sanding
- Check for any loose screws or nails
Step 4: Choose the right wood treatment
Not all wood treatments are the same, so it is essential to select the right product for the surface and finish you require. Purchasing new treatments will also give you an opportunity to refresh not just your wood protection, but the colour too.
When considering the right wood treatment have a think about the following:
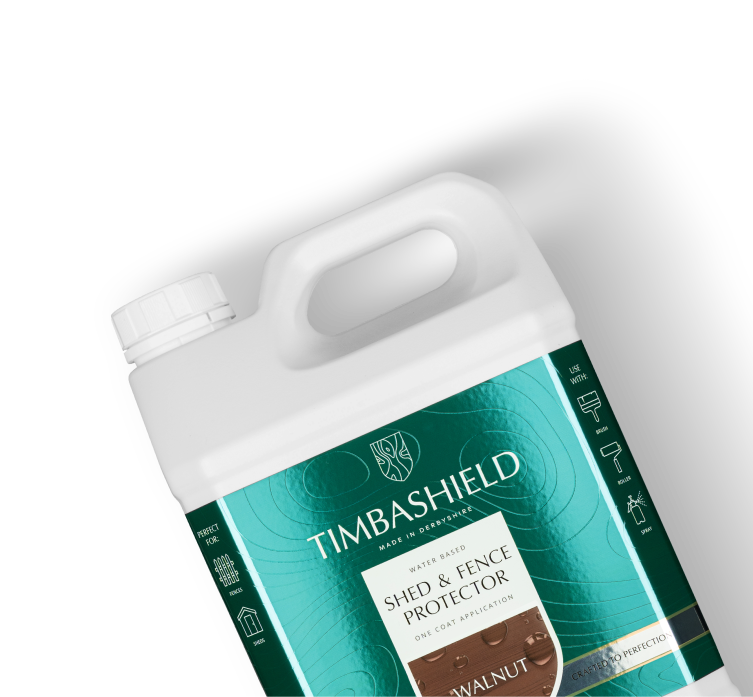
- Shed and Fence Protector that can be applied to rough sawn wood
- Decking Protector that can deeply penetrate softwood to give long lasting protection
- Multi-purpose Wood Protector which may provide more colour choices
- Water Sealer that can help increase the lifespan of treated wood and reduce the effect of water damage
Any high quality wood treatment should protect against rain and moisture as well as reducing UV damage and fading whilst enhancing the appearance of your wood.
Step 5: Apply your selected treatment
Not all treatments are applied in the same way so it’s important to check the manufacturers guidelines. By following the guidance, you are more likely to achieve the desired results but here are some further considerations to make when applying your treatment:
- Check the weather, make sure there are a few clear days in the weather forecast and apply your treatment on a dry day
- Use the right application methods, this could be a brush, spray or roller for example
- When applying, follow the grain of the wood and apply evenly
- If further coats are required to achieve the right results, leave enough drying time before adding another coat
By following the steps above this will help set up your wood treatment for the year ahead. But don’t forget, to keep your wood looking at its best, you should do a little ongoing care and maintenance by regularly brushing away any debris, cleaning surfaces and reapplying treatment where required.
Whether you are restoring tired timber, or protecting newly installed structures in your garden, our range of high-performance treatments are ideal for your garden this year.


Why Has My Fence Turned Grey? How to Restore & Protect Outdoor Wood
Why has your fence turned grey? Learn how to restore weathered timber and protect outdoor wood with Timbashield.
view this post
Refresh Your Garden: A Spring Checklist
Get your garden ready for 2026 with our spring wood care checklist. Learn how to clean, repair and protect outdoor timber for longer-lasting results.
view this post
Winter Wood Care: What You Can Do When You Can’t Stain
Protect your outdoor wood this winter. Learn how to clean, seal, and prep for spring with Timbashield’s expert wood care tips.
view this post